
3 posts tagged with "html"

View All Tags

· 4 min read

I was at the Global Azure Bootcamp recently concluded last week, one of the participant came and asked me, "Hey what is Cosmos DB" I casually responded “Well, that’s Microsoft’s globally distributed, massively scalable, horizontally partitioned, low latency, fully indexed, multi-model NoSQL database". The immediate question came after that was whether it supports hybrid applications. In this blog I will be explaining how to leverage the features of cosmos db when you're building hybrid applications.

Ionic framework is an open source library of mobile-optimized components in JavaScript, HTML, and CSS. It provides developers with tools for building robust and optimized hybrid apps which works on Android,IOS and web.  Ionic comes with very native-styled mobile UI elements and layouts that you’d get with a native SDK on iOS or Android.

Let's see how to build Hybrid application with Ionic and Cosmosdb

PreRequisites:

You need to have npm and node installed on your machine to get started with Ionic.

Step 1: Make sure you've installed ionic in your machine with the following command,

ionic -v

Step 2: Install Ionic globally

if it's not installed, install it by using the command

npm i -g ionic

Step 3: Create a new ionic project

Ionic start is a command to create a new ionic project. You pass in the directory name to create, and the template to use. The template can be a built-in one (tabs, blank) or can point to a GitHub URL.

The aim is to create a simple ToDo application which displays lists of tasks, and user should be able to add new tasks.

Lets create a blank project with the command

 ionic start cosmosdbApp tabs

You will see a new project getting created.

Step 4: Run the ionic app

You can run the app with a simple command by navigating to the folder and then run

Ionic serve

This starts a local web server and opens your browser at the URL, showing the Ionic app in your desktop browser. Remember, ionic is just HTML, CSS and JavaScript!

It will open the application in the default browser with the default app.

If you're stuck at any point you can refer to my slides on How to get started with Ionic and follow the steps.

https://slides.com/sajeetharansinnathurai/ionicnsbm#/10

Step 5: Create the cosmosdb account on azure portal,

We need to create an cosmosdb account and use the Endpoint and SecretKey in our application. You can follow the

Blog on how to create it from the azure portal

https://sajeetharan.wordpress.com/2018/03/26/wear-out-the-features-of-azure-cosmosdb-with-aspnetcore-application/

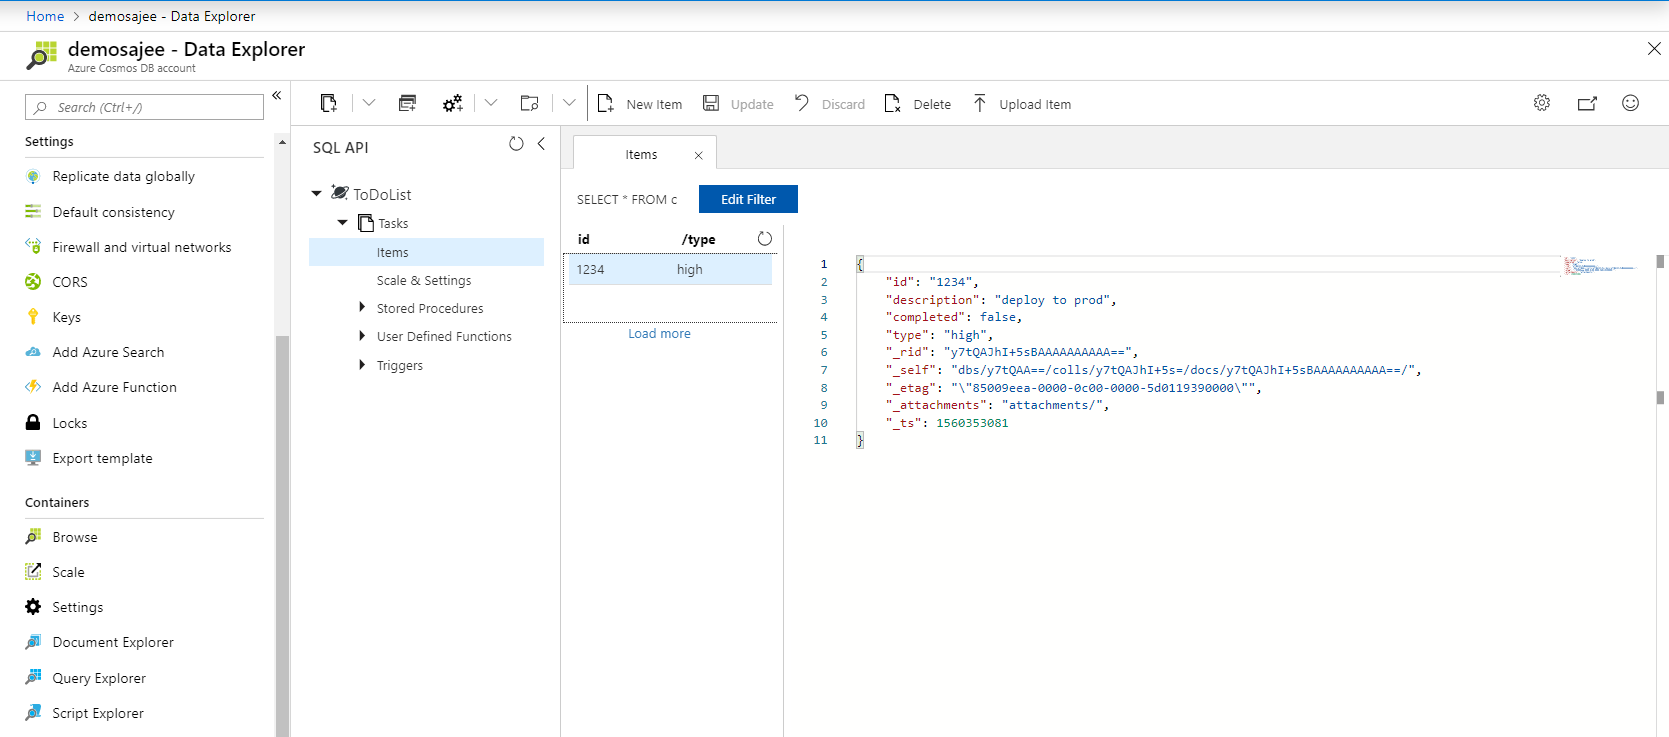
Create a database named "ToDoList" and containeras "Items".

Once created, lets go back to the application.

Step 6: Lets add Cosmosdb SDK to the project

To consume the Cosmosdb service in the application we need to add the Azure Cosmos Javascript SDK to the project. This can be done with the command

npm i @azure/cosmos

Step 7:  You need to create an interface/model which will be used to save/retrieve the objects from the cosmosdb

https://gist.github.com/sajeetharan/a1dff67c87dce10bc2220aa0e9c550c3

Step 8: You need to add two pages home and todo page , home to display the lists of items inside the containerand todo page to add a new item. These two pages can be generated insdie the module with the command,

ionic g page home

Ionic g page todo

https://gist.github.com/sajeetharan/85229d091990d149b9c09d71f3387287

Step 9: We need to add a service to embed the logic to communicate with the cosmosdb you can create a new service inside the module as,

ionic g service cosmos

https://gist.github.com/sajeetharan/d7336abce15fa4d10ffd9d806b819462

As we need to make use of the available methods inside the @azure/cosmos You can import cosmos with the line,

import * as Cosmos from "@azure/cosmos";

Now make use of all the available functions in the SDK to add,delete,update items in the cosmosdb.

Step 8: To make application compatible with android/ios , run the following command,

Ionic cordova build ios/android

If you want to make the development faster, you could try building your ionic application with capacitor as well.

Now your hybrid application uses cosmosdb as a backend, with this demo you know how to use cosmosdb as a database for your hybrid application. I hope you should be able to create more applications in the future with cosmosdb and ionic.

You can check the demo application source code from here.

· 2 min read

I've been a .Net developer since the beta days of .Net 3.0, Now i find myself doing less and less coding related with .Net related stuffs. However, the new strategy from Microsoft  encouraged all the developers including me to once again start doing some .Net work from time to time. One of the highlighting tool among them was the Visual Studio Code.

Sublime text has been my favorite text editor all these time.When i downloaded it and looked at the first time my impression was nothing more than a plain editor with very little added value. Before VS code I have tried all popular editors - Sublime, Atom, Brackets etc. After trying it for few weeks now I feel developers  have everything they need .

Some of the highlights of VS Code are as follows,

  • Default integrated git system is really awesome.
  • Powerful debugging option.
  • Very smart code completion.
  • Huge list of Languages Support
  • Multi panel for side by side editing
  • Always-On IntelliSense
  • Debugging support
  • Peek Information like grammer correction
  • Command Palette

Choice of editor is a personal preference. If you like an lightweight IDE environment that's cross platform, you might enjoy VS Code. Give it a try, you will definitely love it.

· 3 min read

It's been exactly 2 years since i started to learn Angular and it's sad that i dint write even a single blog on the same. Finally decided to start a series on the same topic. AngularJS is a JavaScript MVC Framework that integrates two-way data binding, web services, and build web components. There are enough number of blogs and tutorials to follow on the same.

The current product which i am working is a data visualization tool which is built on AngularJS  and has many visualization  been integrated with D3.js.

In this blog, will be describing how to build a directive using d3.js and angular.

Directive is very powerful feature of AngularJS. It easily wired up with controller, html and do the DOM manipulations.

Building a Decomposition Force directed d3 directive:

 App.directive('forceGraph', function() {  
return {
restrict: 'EA',
transclude: true,
scope: {
chartData: '='
},
controller: 'hierarchySummaryCtrl',
link: function(scope, elem, attrs) {
var svg;
elem.bind("onmouseover", function(event) {
scope.svg = svg;
console.log("hierarchy svg", scope.svg);
scope.$apply();
});
scope.$watch('chartData', function(newValue, oldValue) {
if (newValue) {
scope.draw(newValue.data,newValue.id);
}
});
scope.draw = function(rootData,divID) {
var width = 400,
height = 320,
root;
var force = d3.layout.force()
.linkDistance(80)
.charge(-120)
.gravity(.05)
.size([width, height])
.on("tick", tick);
var divid = "#" + divID;
d3.select(divid).selectAll("*").remove();
svg = d3.select(divid)
.append("svg").attr("viewBox", "0 0 400 400")
.attr("width", '100%')
.attr("height", '100%');
var link = svg.selectAll(".link"),
node = svg.selectAll(".node");
root = rootData;
update();
console.log(svg);
scope.setSvg(svg[0][0].innerHTML);
function update() {
console.log(nodes)
var nodes = flatten(root),
links = d3.layout.tree().links(nodes);
var nodes = flatten(rootData),
links = d3.layout.tree().links(nodes);
force.nodes(nodes)
.links(links)
.start();
// Update links.
link = link.data(links, function(d) {
return d.target.id;
});
link.exit().remove();
link.enter().insert("line", ".node")
.attr("class", "link");
// Update nodes.
node = node.data(nodes, function(d) {
return d.id;
});
node.exit().remove();
var nodeEnter = node.enter().append("g")
.attr("class", "node")
.on("click", click)
.call(force.drag);
nodeEnter.append("circle")
.attr("r", function(d) {
return Math.sqrt(d.size) / 5 || 4.5;
});
nodeEnter.append("text")
.attr("dy", ".25em")
.text(function(d) {
return d.name + ", Count: " + d.size;
});
node.select("circle")
.style("fill", color);
}
function tick() {
link.attr("x1", function(d) {
return d.source.x;
})
.attr("y1", function(d) {
return d.source.y;
})
.attr("x2", function(d) {
return d.target.x;
})
.attr("y2", function(d) {
return d.target.y;
});
node.attr("transform", function(d) {
return "translate(" + d.x + "," + d.y + ")";
});
}
function color(d) {
return d._children ? "#FFEB3B" // collapsed package
:
d.children ? "#F44336" // expanded package
:
"#D32F2F"; // leaf node
}
// Toggle children on click.
function click(d) {
if (d3.event.defaultPrevented) return; // ignore drag
if (d.children) {
d._children = d.children;
d.children = null;
} else {
d.children = d._children;
d._children = null;
}
update();
}
// Returns a list of all nodes under the root.
function flatten(root) {
var nodes = [],
i = 0;
function recurse(node) {
if (node.children) node.children.forEach(recurse);
if (!node.id) node.id = ++i;
nodes.push(node);
}
recurse(root);
return nodes;
}
};
}
};
});

My Repository With the sample