8 posts tagged with "azurefunctions"

View All Tags

· 7 min read

Many times you would have wanted to have one view/dashboard of all the Github issues created for your open source repositories. I have almost 150 repositories and it becomes really hard to find which are the priority ones to be fixed. In this post we will see how you can create a one dashboard/report to view all your github issues in a page using Azure Function(3.X with Typescript) and Azure CosmosDB.

PreRequisities:

You will need to have an Azure Subscription and a Github Account. If you do not have an Azure subscription you can simply create one with free trial. Free trial provides you with 12 months of free services. We will use Azure Function and CosmosDB to build this solution.

Step 1 : Create Resource Group

Inorder to manage deploy the function app and cosmosdb we first need to create Resource Group. You can create one named "gh-issue-report"

Step 2: Create the Azure Cosmosdb Account

To store the related data of the GitHub issue we need to create a CosmosDB account. To Create CosmosDB account, navigate to the Azure portal and click the Create Resource. Search for Azure Cosmosdb on the market place and create the account as follows.

CosmosDB Creation

Step 3:  Create the Function app

If you have noticed my previous blog, i have mentioned about how to create an Azure function. Here is an image of the Function App i created.

Creating Function App

Create Typescript Function:

As you see i have selected Runtime stack as Node.js which will be used to run the function written with Typescript.  Open Visual Studio Code(Make sure you have already installed the VSCode with the function core tools and extension). Select Ctrl + Shif + P to create a new Function Project and select the language as Typescript.

Create Typescript Function

 Select the template as Timer trigger as we need to run every 5 minutes and you need to configure the cron expression (0 */5 * * * *) as well. (You can have custom time)

Give the function name as gitIssueReport, You will see the function getting created with the necessary files.

Step 4 : Add Dependencies to the Function App

Let's try to add the necessary dependencies to the project. We will use bluebird as a dependency to handle the requests. Also gh-issues-api library to interact with Github and get the necessary issues. You need to add the dependencies in the package.json folder under dependencies.

 "dependencies": {
"@types/node": "^13.7.0",
"bluebird": "^3.4.7",
"gh-issues-api": "0.0.2"
}

You can view the whole package.json here.

Step 5: Set Output Binding

Let's set the output binding to CosmosDB to write the issues to the collection. You can set it by modifying the function.json as

{
"type": "cosmosDB",
"name": "issueReport",
"databaseName": "gh-issues",
"collectionName": "open-issues",
"createIfNotExists": true,
"connectionStringSetting": "gh-issue_DOCUMENTDB",
"direction": "out"
}

Where type cosmosDB denotes the database output binding and you can see that the database name and collection as configured.

Step 6 : Code to Retrieve the Github Repository Issues

The actual logic of the function is as follows,


import Promise = require('bluebird');

import {
GHRepository,
IssueType,
IssueState,
IssueActivity,
IssueActivityFilter,
IssueLabelFilter,
FilterCollection
} from 'gh-issues-api';

export function index(context: any, myTimer: any) {
var timeStamp = new Date().toISOString();

if(myTimer.isPastDue) {
context.log('Function trigger timer is past due!');
}

const repoName = process.env['repositoryName'];
const repoOwner = process.env['repositoryOwner'];
const labels = [
'bug',
'build issue',
'investigation required',
'help wanted',
'enhancement',
'question',
'documentation',
];

const repo = new GHRepository(repoOwner, repoName);
var report = {
name: repoName,
at: new Date().toISOString()
};

context.log('Issues for ' + repoOwner + '/' + repoName, timeStamp);
repo.loadAllIssues().then(() => {
var promises = labels.map(label => {
var filterCollection = new FilterCollection();
filterCollection.label = new IssueLabelFilter(label);
return repo.list(IssueType.All, IssueState.Open, filterCollection).then(issues => report[label] = issues.length);
});
var last7days = new Date(Date.now() - 604800000)
var staleIssuesFilter = new IssueActivityFilter(IssueActivity.Updated, last7days);
staleIssuesFilter.negated = true;
var staleFilters = new FilterCollection();
staleFilters.activity = staleIssuesFilter;
promises.push([
repo.list(IssueType.Issue, IssueState.Open).then(issues => report['total'] = issues.length),
repo.list(IssueType.PulLRequest, IssueState.Open).then(issues => report['pull_request'] = issues.length),
repo.list(IssueType.All, IssueState.Open, staleFilters).then(issues => report['stale_7days'] = issues.length)
]);

return Promise.all(promises);
}).then(() => {
var reportAsString = JSON.stringify(report);
context.log(reportAsString);
context.bindings.issueReport = reportAsString;
context.done();
});;
}

You can see that the document is set as a input to the CosmosDB with the binding named issueReport.

Step 7: Deploy the Function

Deploy the Function App. You can deploy the function app to the Azure with the keys Ctrl+Shift+P and select Deploy to the Function App

Deploy Function App

Step 8 : Verify/Install the Dependencies

Once the deployment is succesfful, Navigate to Azure portal and open the function app to make sure that everything looks good. If you dont see the dependencies make sure to install the dependencies manually by navigating to the Kudu Console of the function App.

Note : Make sure to stop the Function app before you head over to Kudu.

ick on the Platform Features tab. Under Development Tools, click Advanced tools (Kudu). Kudu will open on it’s own in a new window.

Navigate to KUDU console

In the top menu of the Kudu Console, click Debug Console and select CMD

In the command prompt, we’ll want to navigate to D:\home\site\wwwroot. You can do so by using the command cd site\wwwroot and press enter on your keyboard. Once you’re in wwwroot, run the command npm i bluebird to install the package. Also do the same for gh-issues-api

Step 8: Set Environment Variables (Repository)

As you could see in the above code, we are setting two environment variables to read the repository name and the repository owner which are needed to fetch the issues information. You can set those variable son the Azure portal as follows.

Navigate to the Overview tab for your function and click Configuration. As you can see below I've configured those values.

Function App Settings

Step 9: Verify the Output Binding

Just to make sure that our settings in the function.json has been reflected or not navigate to the Functions and select the Function and make sure all the binding values are correct. If not create a new binding to cosmosdb account you created as mentioned in the step Step 3 (Instead of Twilio select Cosmosdb)

Step 10 : Run and Test the Function

Now its time to see the function app running and issues being reported. Navigate to your function app and click Run. You can see the Function Running as shown below.

Run Function App

Step 11: Check Live App Metrics

If you see any errors you can always navigate to Monitor section of the Function app and select Live App Metrics

Live metrics of the function app

Step 12: Verify the data in cosmosdb

If everything goes well, you can navigate to Cosmosdb Account and open the collection with the data Explorer.

Data Explorer Cosmosdb

You will see that there are many documents inserted in the collection.

Cosmosdb collection with Github repository Issues

Now you can modify this function to retrieve the issues from all of your repositories and use the data stored in the cosmosdb collection to build a dashboard to show the issues with priority. Also you can make use of this post to send a notification to someone about the issue as well.

Hope this simple function will help someone to build a dashboard out of the data collected and make them more productive.Cheers!

· 4 min read

I have been using twitter for the past 10 years and it took nearly 5 years to get those 100 followers. I was not an active user till before 2 years. One great tip i learnt in recent times is that first thing you need to do is to get a really complete and professional profile. Most users look at profiles before following. Another best way is to increase followers on Twitter is being consistent with posting quality content. Automating your posts will help a lot with this. In this blog, i will explain how you could build a simple function and deploy it on Azure to increase your followers count and to be consistent with quality content.

PreRequisites:

Step 1 : Navigate to https://portal.azure.com/ and search for Function App in the search bar.

Step 2 : Create a Function app with the following settings, make sure you are setting the Consumption Plan and enable Application Insights.

Step 3 : Open Visual Studio Code(Make sure you have already installed the VSCode with the function core tools and extension). Select Ctrl + Shif + P to create a new Function Project and select the language as Python

Step 4 : Select the template as Timer trigger as we need to run every 15 minutes and you need to configure the cron expression (0 */15 * * * *) as well.

Give the function name as twitter_followers,

Step 5 : You will see the project template getting created. Next step is to edit the __init__.py, thats where you are going to add the logic. We will be using Tweepy library to get the data from twitter and to follow the person who is tweeting the tweet. The methods we will use in the function as retweet and create_friendship. Here is the whole logic of the function. As you can see any tweet that has the hashtag #azure will get retweeted and you will automatically follow the user who has tweeted the tweet.

import tweepy, time, datetime, logging, os
from datetime import date
import azure.functions as func
def main(mytimer: func.TimerRequest) -> None:
utc_timestamp = datetime.datetime.utcnow().replace(
tzinfo=datetime.timezone.utc).isoformat()
if mytimer.past_due:
logging.info('The timer is past due!')
logging.info('Python timer trigger function ran at %s', utc_timestamp)
auth = tweepy.OAuthHandler(os.environ["TWITTER_CONSUMER_KEY"], os.environ["TWITTER_CONSUMER_SECRET"])
auth.set_access_token(os.environ["TWITTER_ACCESS_TOKEN"], os.environ["TWITTER_ACCESS_TOKEN_SECRET"])
api = tweepy.API(auth)
today = str(date.today())
while True:
for tweet in tweepy.Cursor(api.search,q="#azure", lang="en", since=today).items(1):
try:
api.retweet(tweet.id)
except:
pass
try:
api.create_friendship(tweet.user.id)
except:
pass

Step 6: As you can see there are few environment variables which we are using in the code, we need to add those variables with the values in the local.settings.json file.

{  "IsEncrypted": false, 
"Values": {
"TWITTER_CONSUMER_KEY": "",
"TWITTER_CONSUMER_SECRET": "",
"TWITTER_ACCESS_TOKEN": "",
"TWITTER_ACCESS_TOKEN_SECRET": "",
"FUNCTIONS_WORKER_RUNTIME": "python",
"AzureWebJobsStorage": "UseDevelopmentStorage=true"
}
}

You need to get those keys from the twitter application you already created. if you dont have one, create from here.

Also you need to add the dependencies which are used in the above code inside the requirements.text file. dependencies.txt would have the following,

azure-functions
tweepy

Step 7 : Now we are done with everything, to publish the app to Azure, just press Ctrl+Shift+P and select Deploy to Funciton App

Step 8 : You can navigate to the function app on the Azure portal and make sure Application Insights is configured and as well as AppSettings are correct.

Make sure all the Environment variables are configured with the values.

Now you can start your function and navigate to Monitor section of the function app. You will see the real live telemetries from the app as follows,

All good, you can see the function running and you will see the tweets are automatically retweeted with the particular hasthage in your timeline and also you will see the number of followers increased. Happy Tweeting Folks!

You can get the sourcecode from here.

· 6 min read

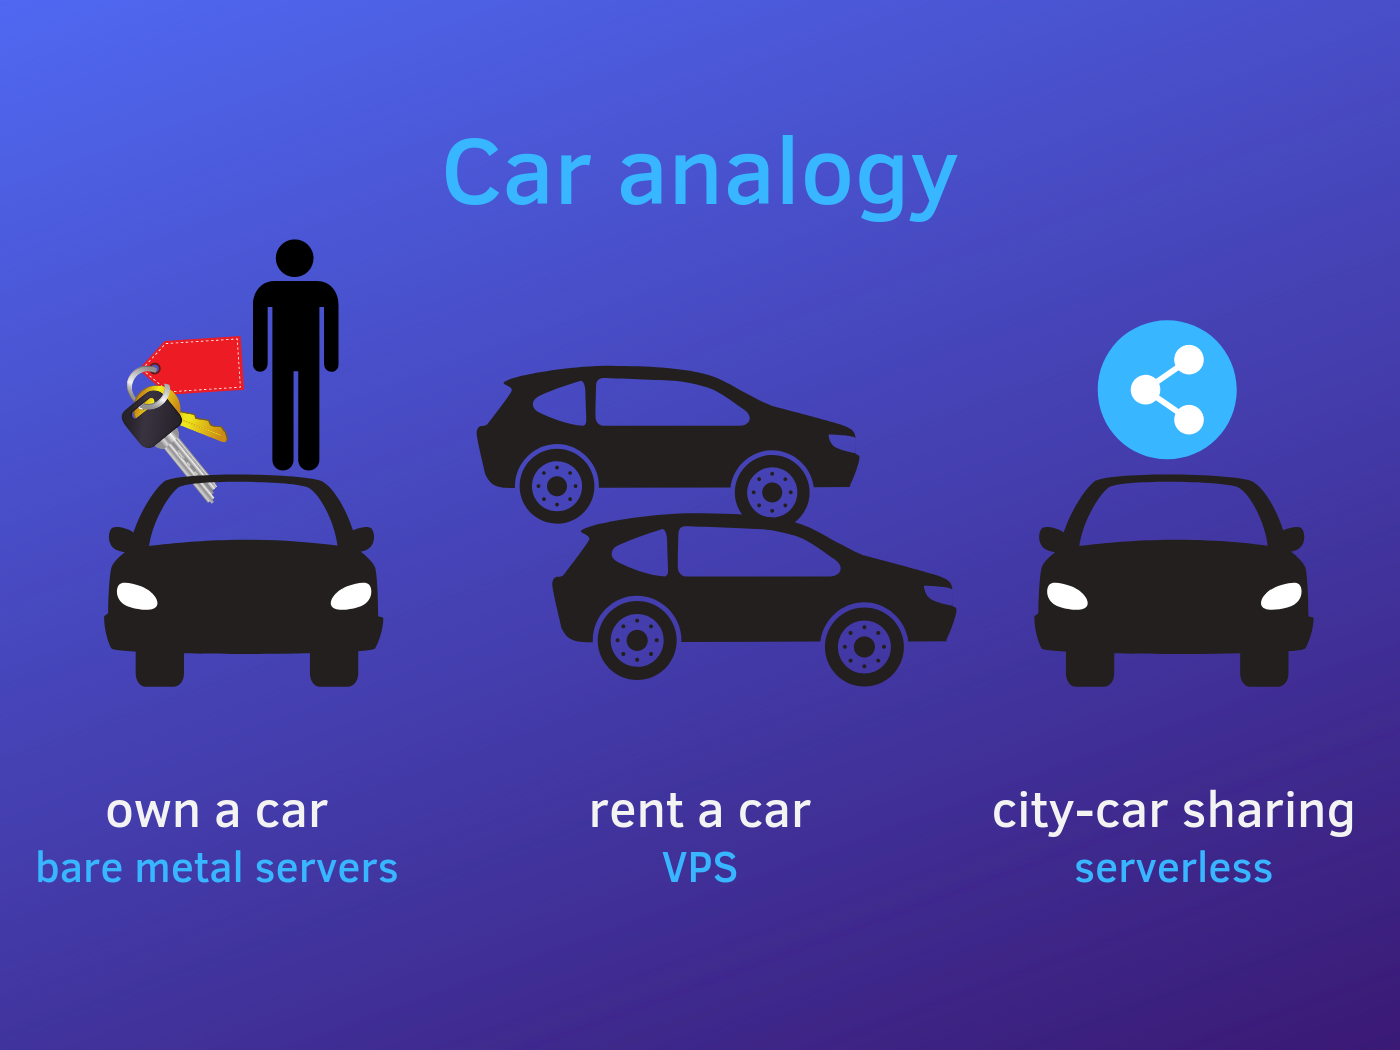
When you are involving in an architectural discussion which involves Azure's cosmosdb, a mandatory question that you get is "Is not Azure Cosmos DB very expensive?". Based on the fact that Cosmos DB is evolving very fast, there are lot of customers stepping in to use the service in their architecture. To understand one thing Cosmos DB is not priced based on the usage the pricing is based on what you reserve. One of the best serverless example we could consider here is renting out a car rather than managing and hailing it. Key point here is you pay for what you reserve, which is the capacity, which is refered in terms as Request Units (RUs). Any customer consuming the Cosmos DB serivce will be paying for the RUs as well as the space.

There have been many questions asked on forums,discussions on how to scale up/down cosmos DB Request units. Being a fan of two major services in Azure, i decided to write on how to scale Cosmos DB with Azure function.Azure Functions and Cosmosdb services are getting more closer and closer together in the recent times. One of the case study that we can consider here is whenever you are experiencing throttling(429) due to the burst of high traffic for a period of time, you will be increasing the Request Units(RUs) in the portal to handle it. Which is sort of a pain to handle it manually and the resulting cost will be very high if you've forgotten to scale it down. Let's see how to autoscale using Azure function to mitigate this issue. It involves 2 steps ,

  • Create an Azure function to scale throughput on a collection and publish
  • Connect the function to CosmosDB alert using an HTTP webhook.

The following solution will help you only to scale up , but the same function can be used to sacle it down if you pass a negative value for the CosmosDB_RU attribute.

Step 1: Let's create the Function and Publish

Step 1: Open Visual Studio 2019

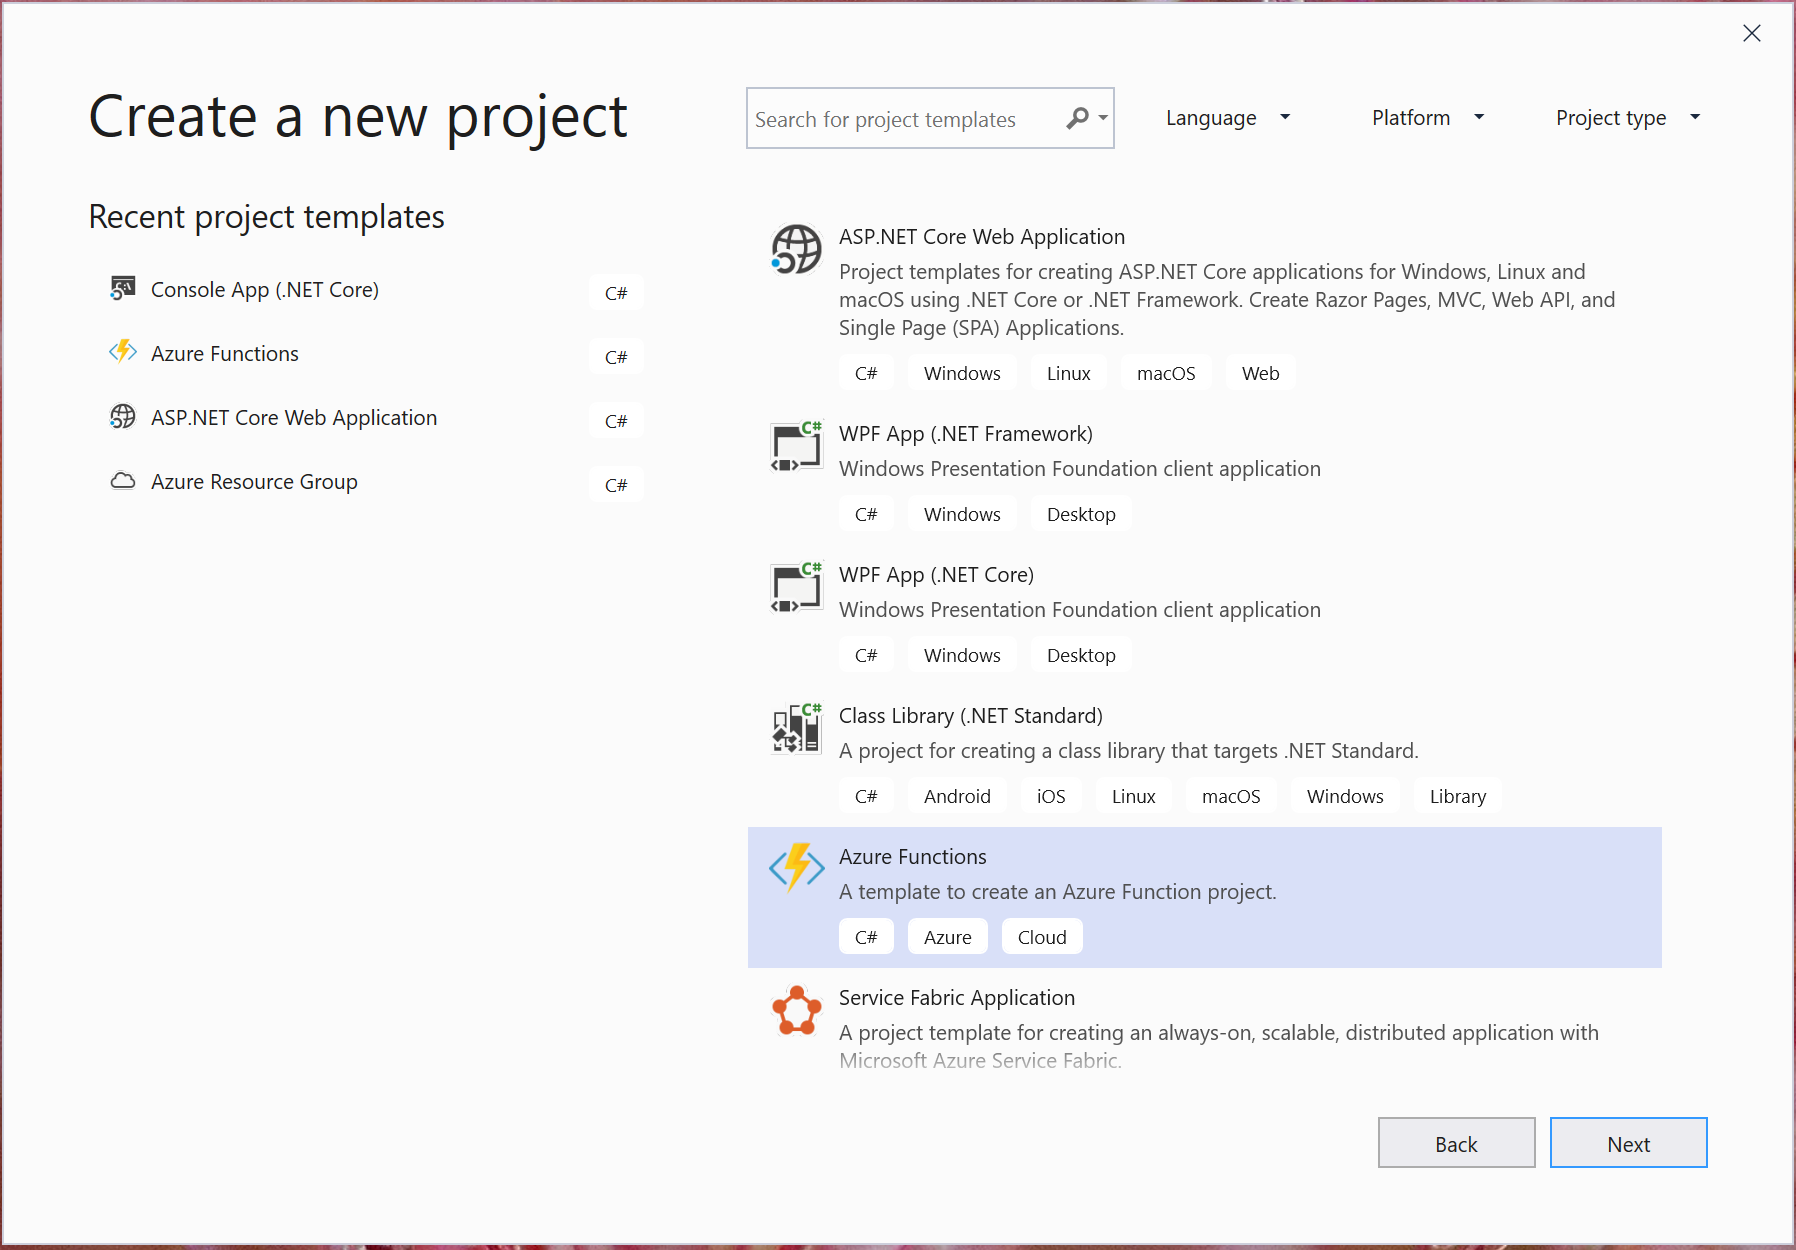
Click File->New Azure Functions from the templates available and give a name for your function and click ok. I have given the name as Cosmos_scale

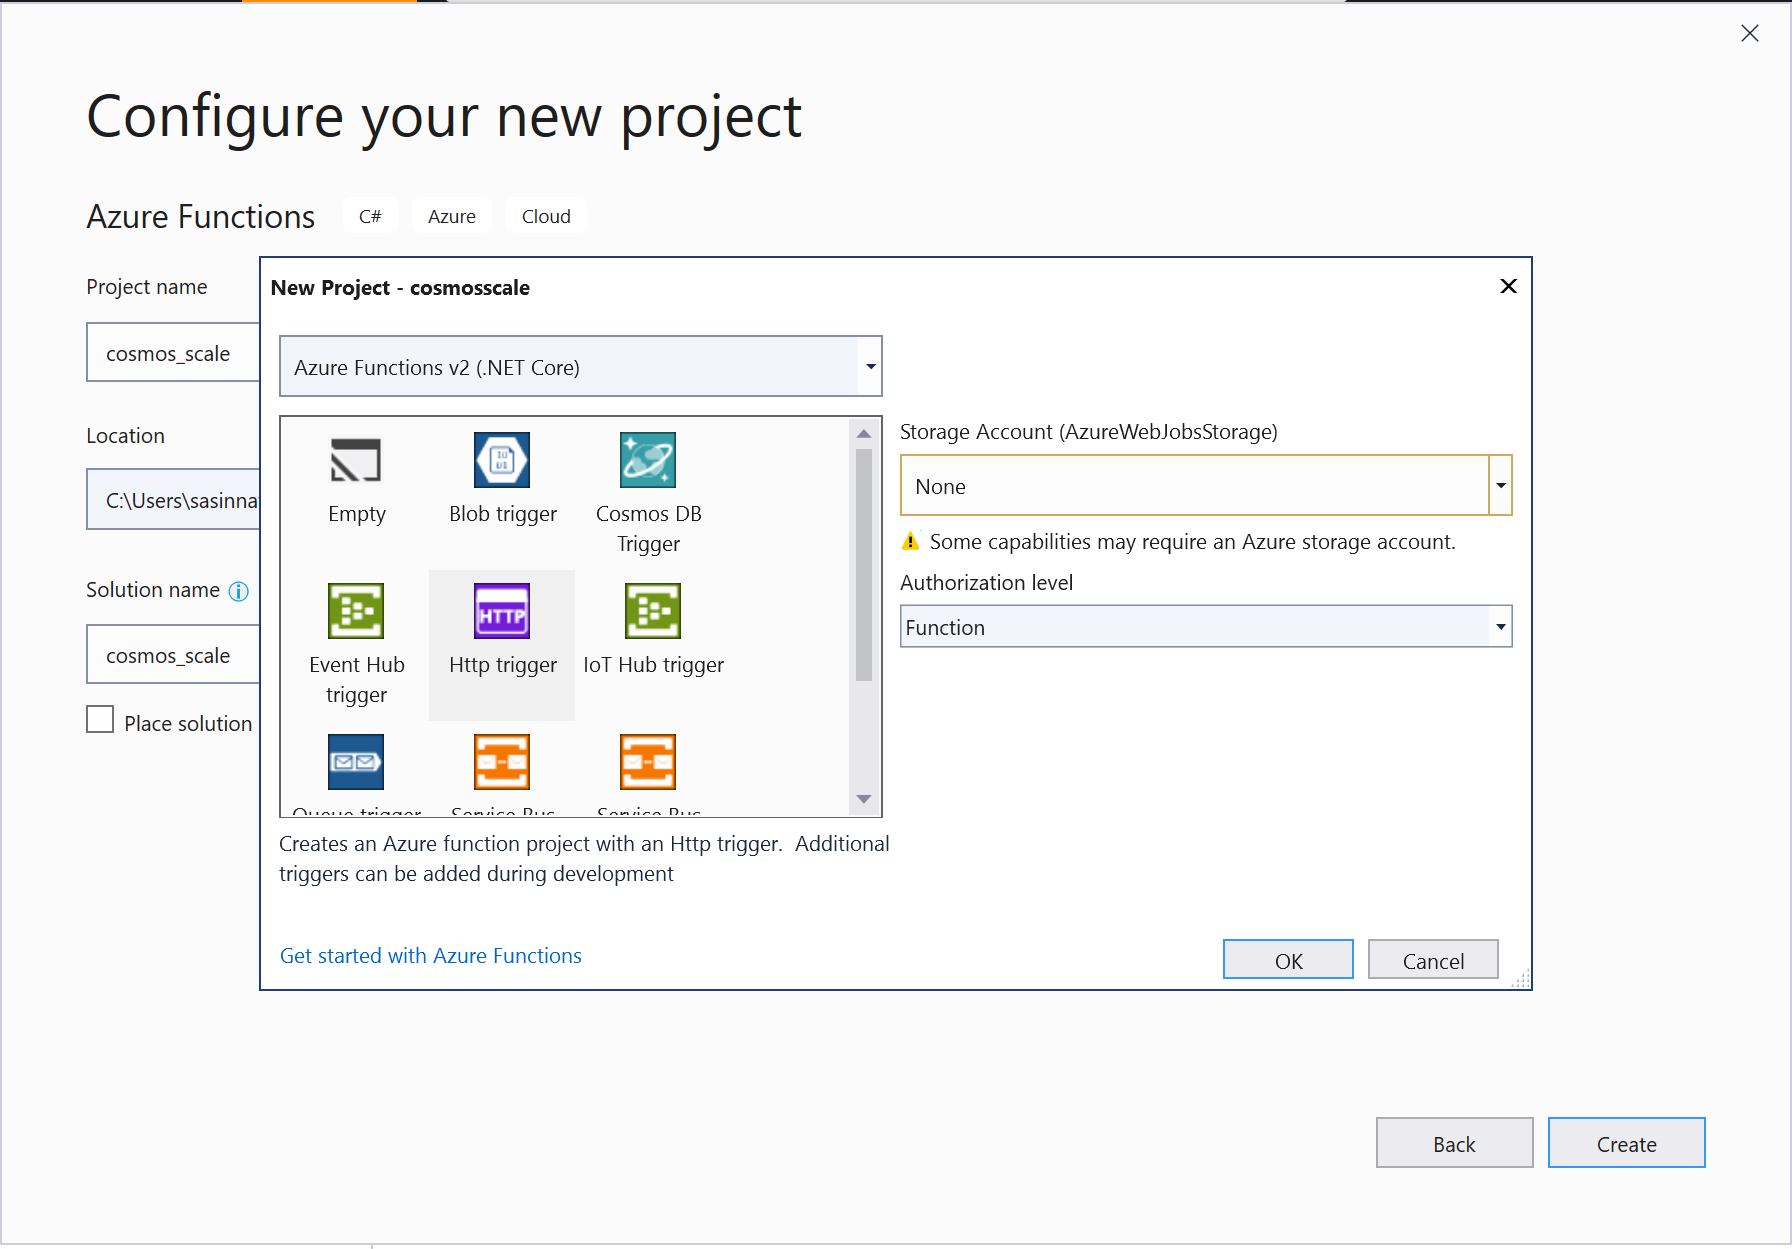
I will be using Azure function 2.x , so you will be taken to a new window where select Trigger type as HttpTrigger and select Authorization level as Function and no need for Storage Account

Once the project is created, rename the default Function1.cs with your name, in this case it will be Cosmosscale.cs. Let's get into the actual implementation of the function

Step 2: Add Microsoft.Azure.Documents.Core Nuget Package to the solution

In order to communicate with the Cosmos DB account and make use of the operations let's add the Nuget package Microsoft.Azure.Documents.Core package.

Step 3: Add Microsoft.Extensions.Configuration to the solution

In order to connect to Cosmos DB we need to get the connection string and the key from the appsettings, lets add Microsoft.Extensions.Configuration. For Azure Functions v2, the ConfigurationManager is not supported and you must use the ASP.NET Core Configuration system:

Let's understand the logic here,

As a first step, lets create the Client to connect to Cosmos DB

https://gist.github.com/sajeetharan/788a6acf99416dde8e6ebd652c2b3ed2

Get the connection self link

https://gist.github.com/sajeetharan/80c87e46cf2969eb11c3c4971f6759ac

As we have already created the account and the collection, lets get the current offer of it

https://gist.github.com/sajeetharan/a3d2d5357791f50276585aa2a04461c1

Let's get the current throughput count

https://gist.github.com/sajeetharan/38302ad7f17b4844afdfd6fd0162e776

Set the new offer with the throughput increment added to the current throughput

https://gist.github.com/sajeetharan/d38fbb251e9e57177a5e68c5735a0fef

That's it, additional step would be to handle the failure and return the response back.

This is how the whole function would look like,

https://gist.github.com/sajeetharan/06544e38bb460df5de44cbaef9b05b43

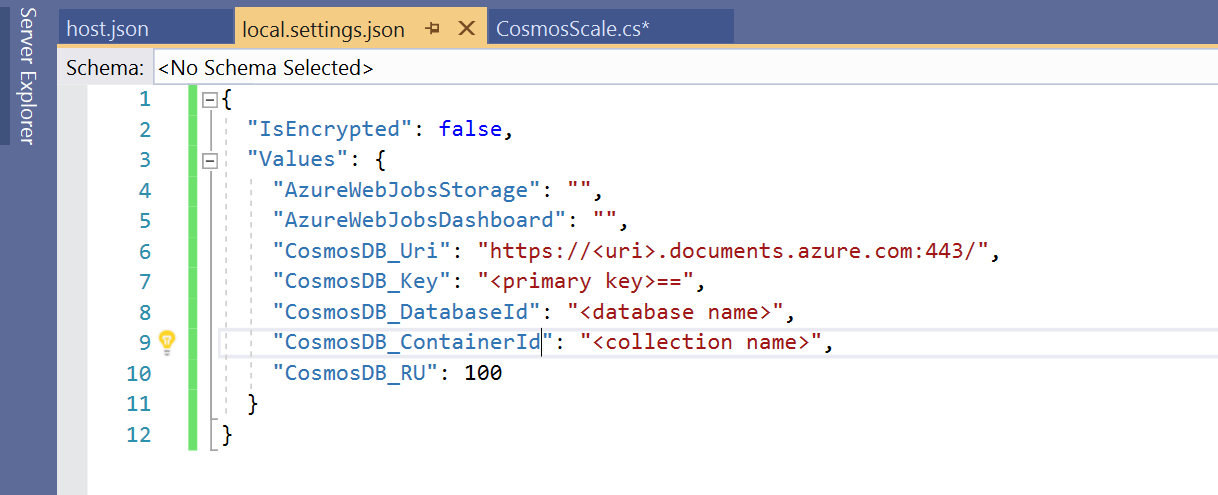
Step 4: Add the config values to local.settings.json

Now we need to add the values to "local.settings.json". These values will be used to test the function locally before deploying it to Azure.

The setting key "CosmosDB_RU" is to increase the RU by 100, and if you want to decrease you can set a negative value say "-100".

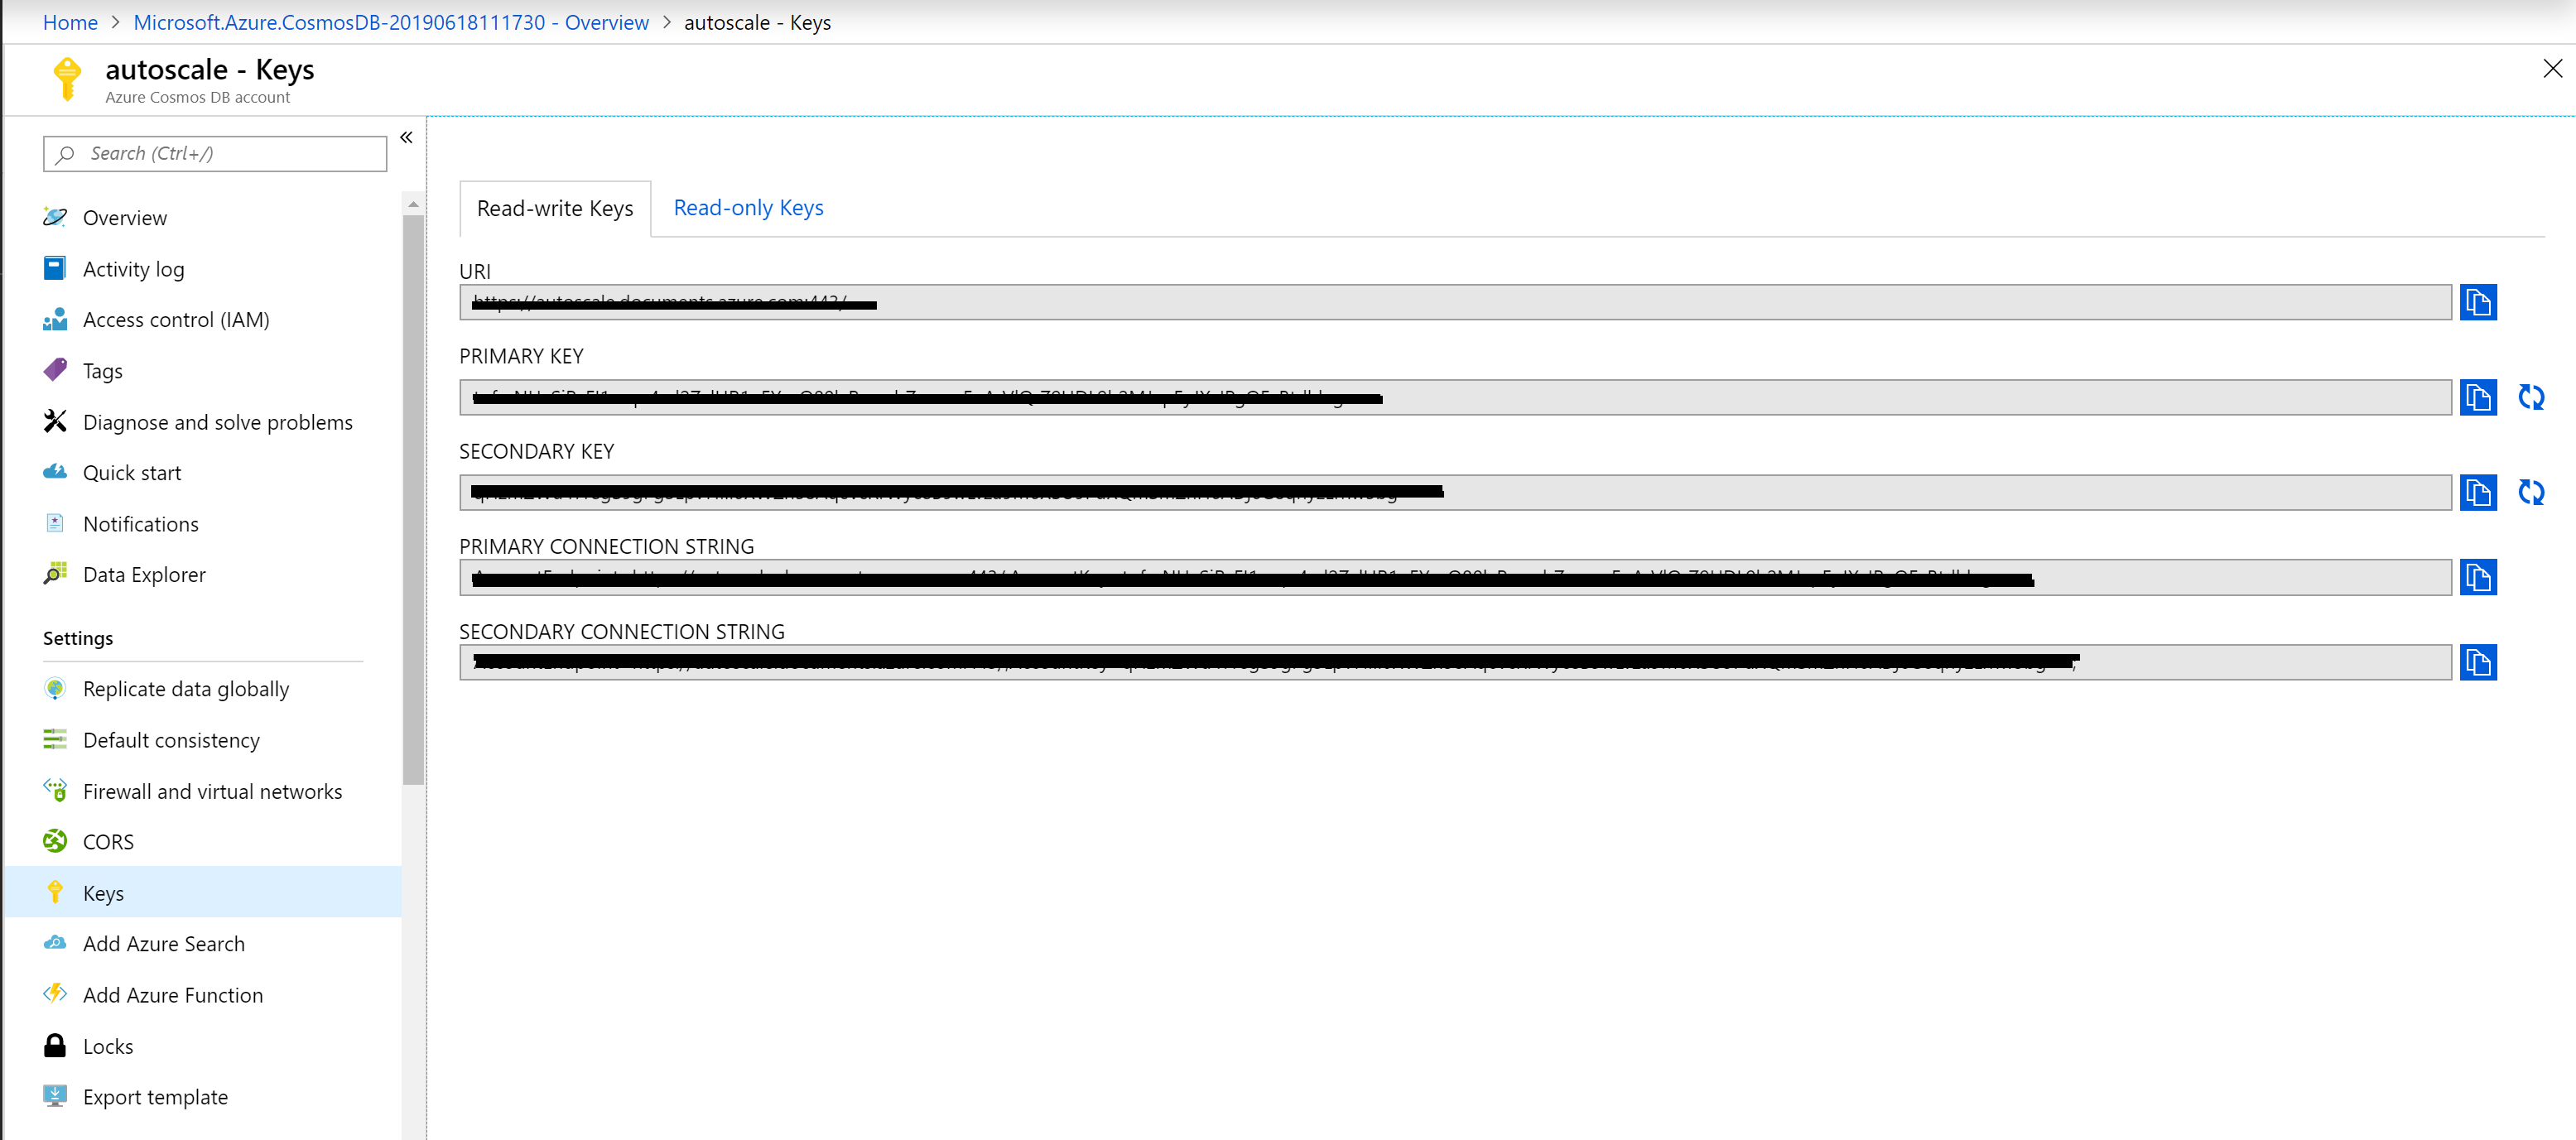
You can get these values from the portal by navigating to the Cosmos DB account.

Step 5: Check the function with Postman

Now we have setup and created the function locally. To test the app locally, click on the run button. Using PostMan send a GET or Post request by using the url

http://localhost:7071/api/Cosmosscale

If you have followed the steps and set up everything correctly, you will be seeing he following response in the console. LogInformation messages will specify the current and the provisioned throughput.

Now we have successfuly tested the autoscaling function in local. Let's publish the Function.

Publish the Function on the portal

In this ste, lets deploy the function through the portal to the new function app.

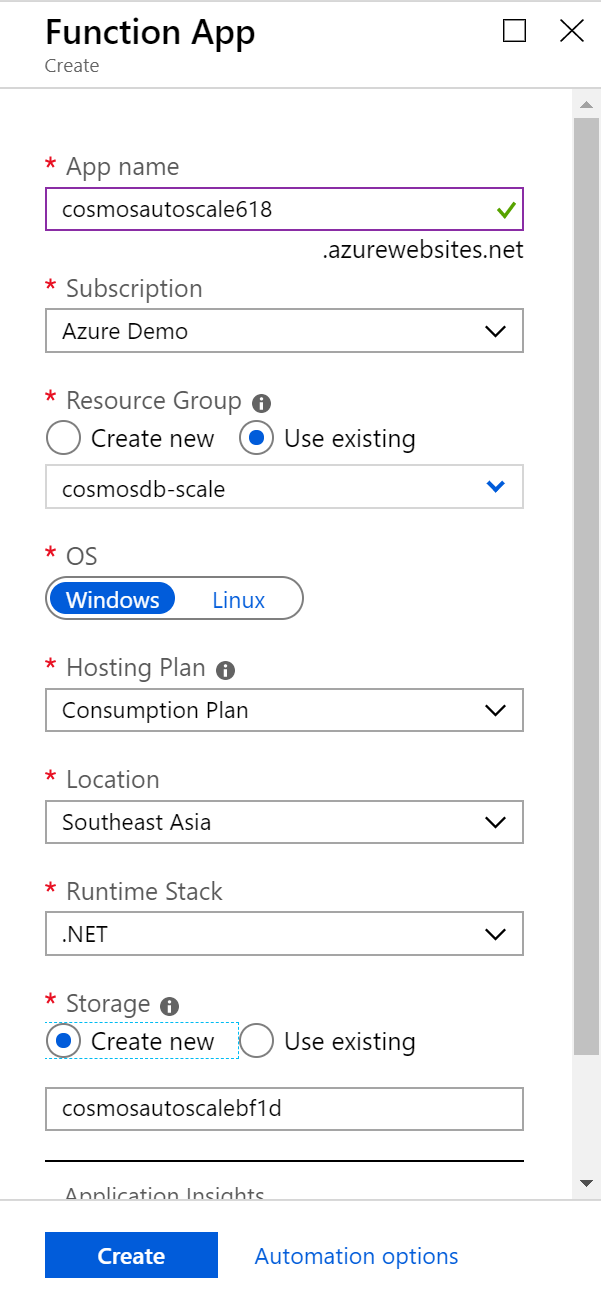
Navigate to the Azure portal and provision a Function App with the default settings.

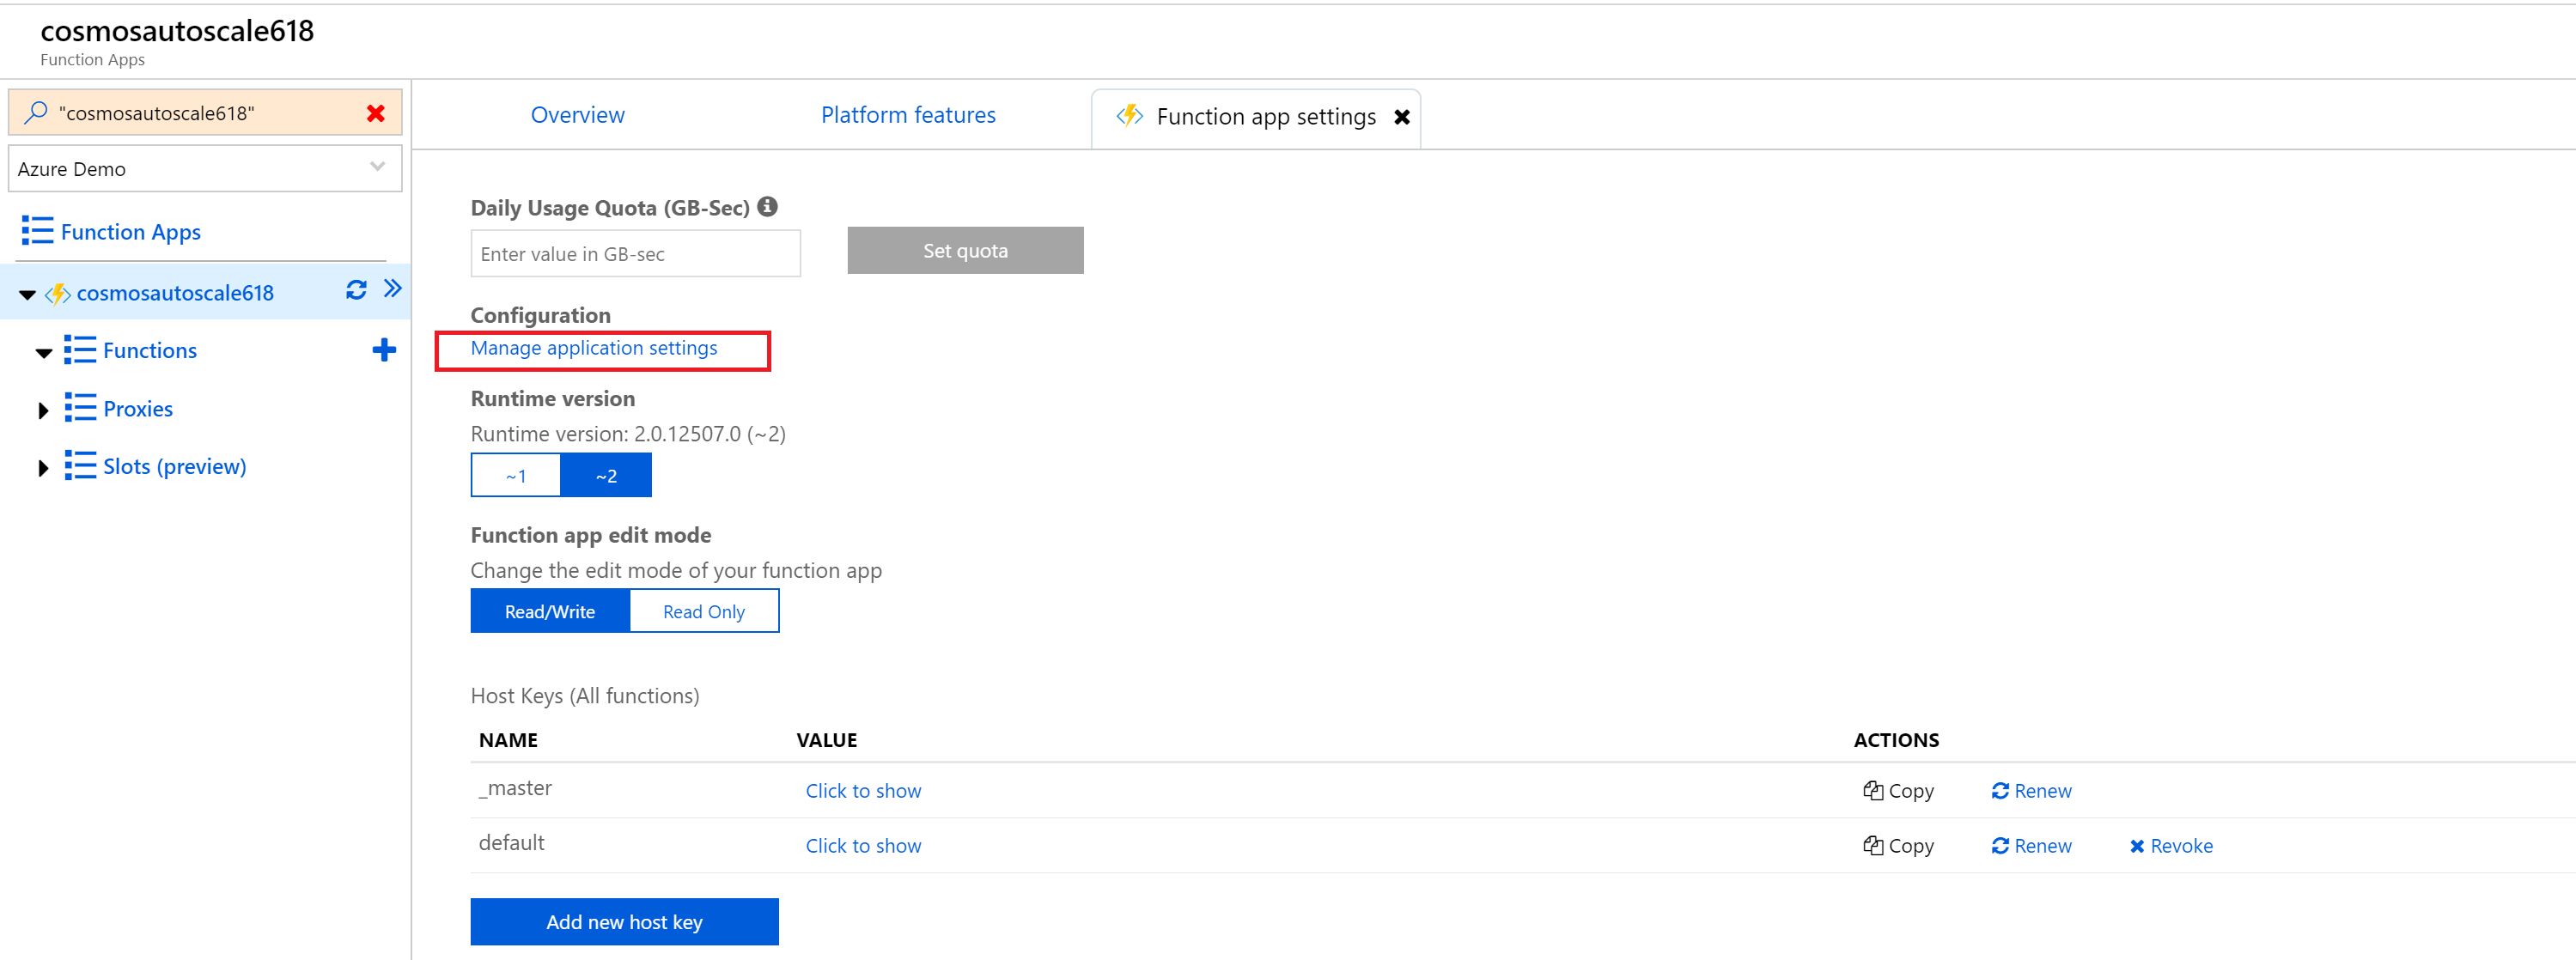
Click on “Function app settings” on your Function App’s homepage, then click on “Manage application settings”. Add the values in the table below to Application settings. The advantage of Adding values to Application settings allows the function’s manager to edit the values later.

KeyValue
CosmosDB_Urihttps://<uri>.documents.azure.com:443/
CosmosDB_appKey<primarykey>
CosmosDB_DatabaseId<database_name>
CosmosDB_ContainerId<container name>
CosmosDB_RU<RU increment/decrement as integer>

Let's publish the function app using Visual Studio.

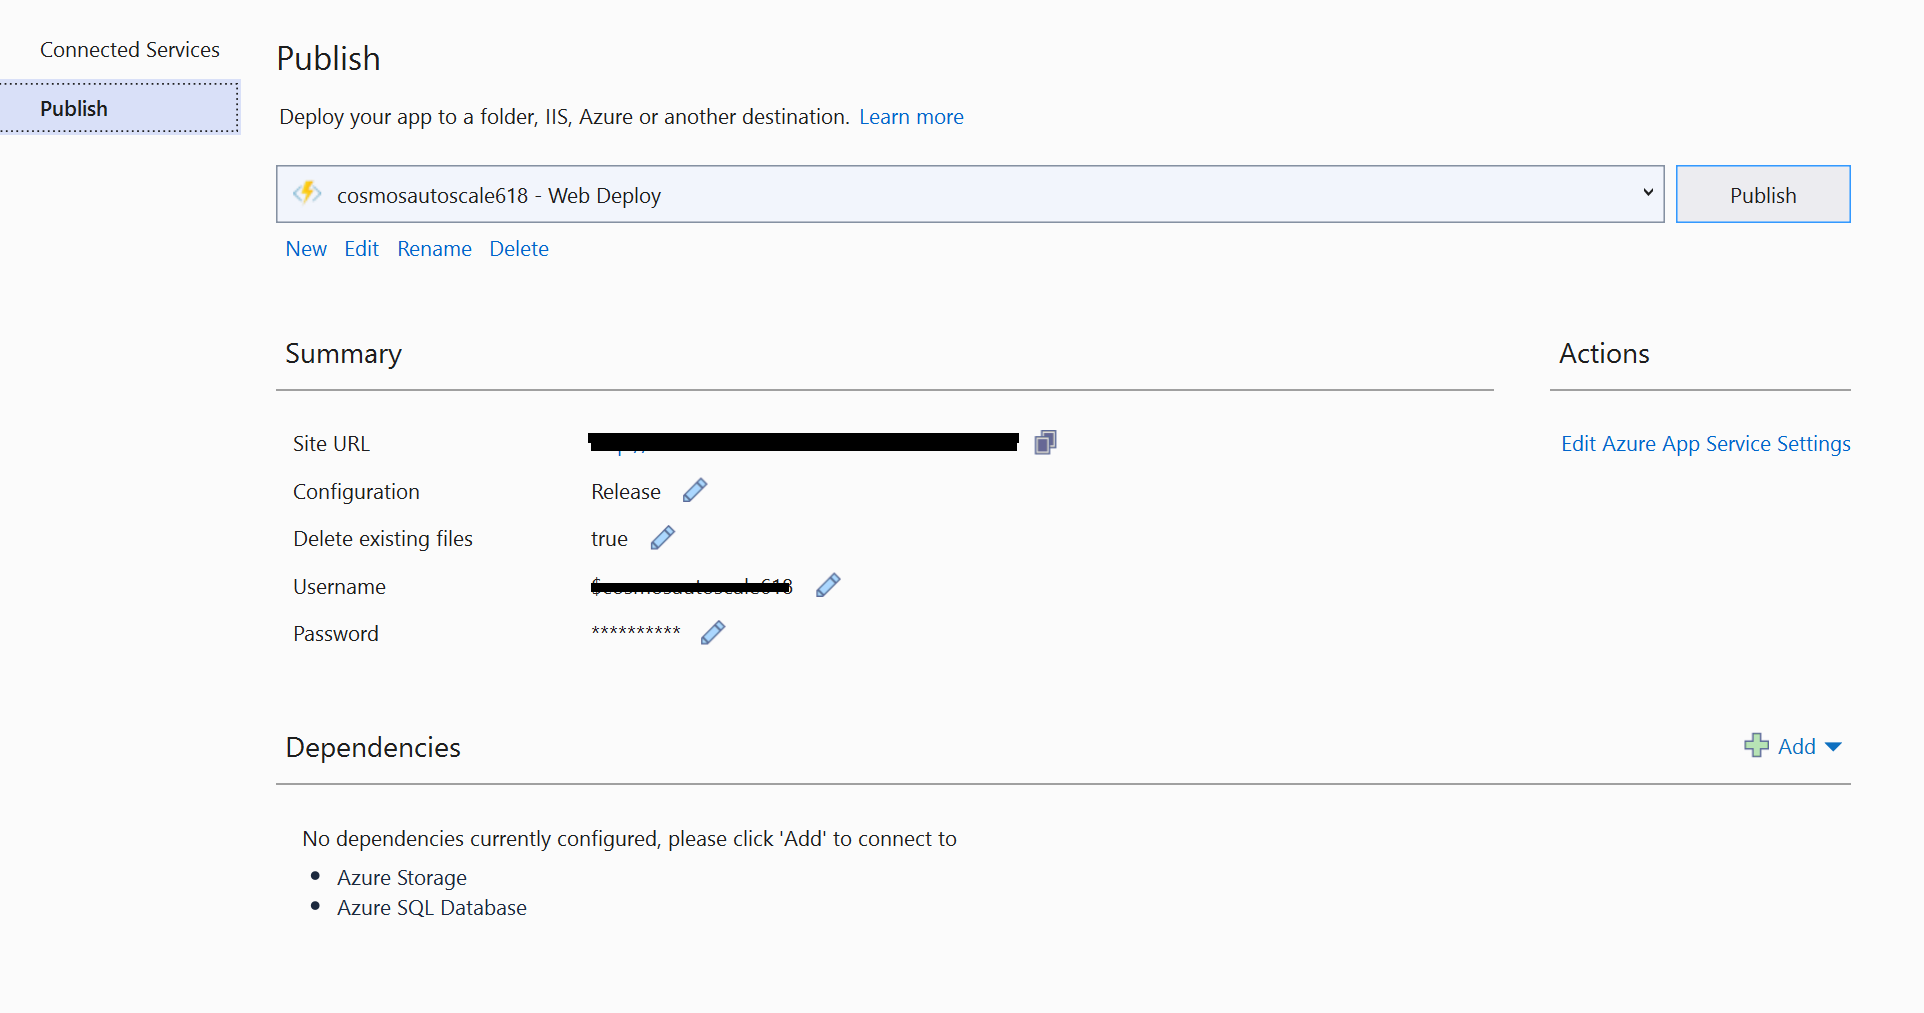
Right click on the project file > Publish… > Select Existing > Publish > Select the Function App we provisioned in the previous step and click ok.

Now we have successfuly deployed the function to Azure. Let's do the final step

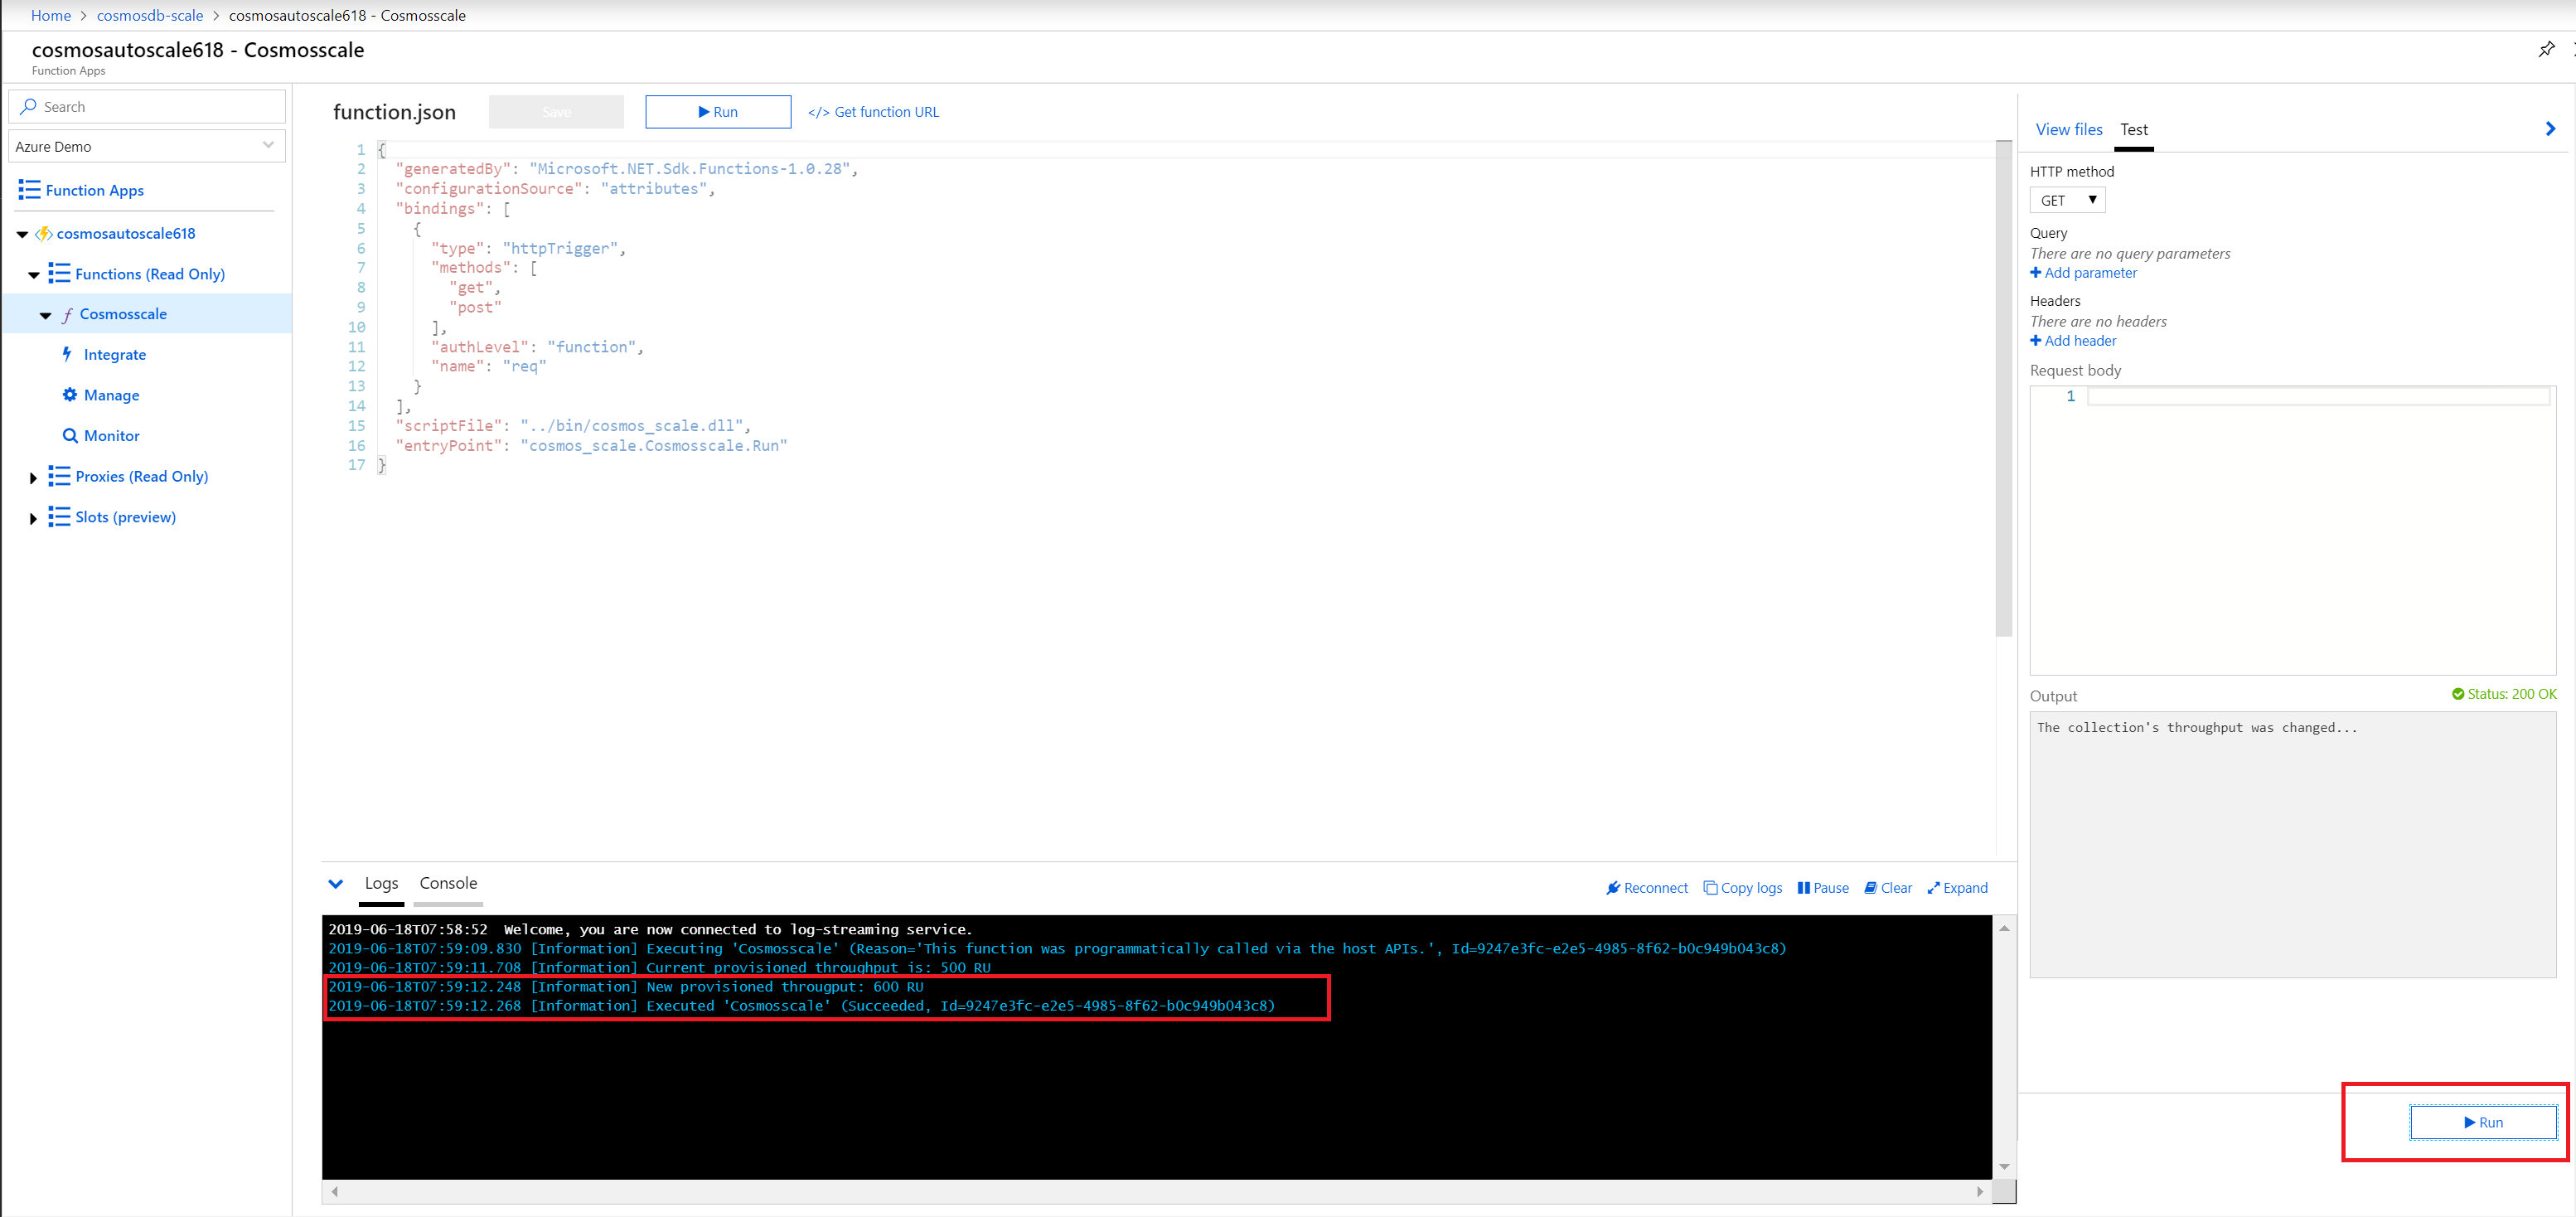
Test the function on Azure by navigating to the function, in the portal blade, and clicking run. We should see the following output if the function succeeds.

If it does not work, make sure you have entered the configuration correctly in the app settings.

You can access the full source code from here.

As this function can be invoked periodically, you can ammend the logic to scale up/down RUs based on time/month/year etc.

Now you can use this function url as a webhook and can be called from anywhere to scale up/down automatically. Hope this will help someone out there to manage the consumption and reduce the cost.